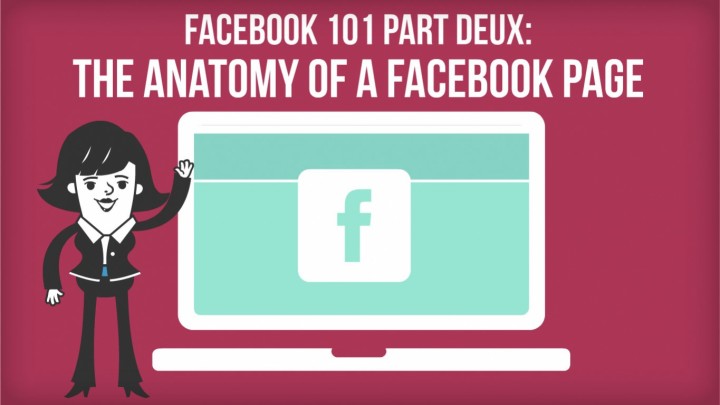
The Anatomy of a Facebook Business Page
Delving into the world of Facebook terminology is befuddling!
Everyone, Facebook included, has a different way to refer to Facebook Page features and functionalities. This can make creating tutorials on the subject pretty challenging, but we promised in last week’s blog post that we would explain how to navigate Facebook Business Pages.. and we always keep our promises!
The Anatomy of a Facebook Page
Top/Admin Navigation Bar
Facebook calls a lot of different layout features “navigation bars”.
This can be extremely confusing when trying to explain how to use the social network to new users. A bar, in web design speak, generally refers to a grouping of information contained within a single line across a web page. The bar we’ve highlighted in the above image is often referred to as the “Top Navigation Bar”, but is also called the “Admin Navigation Bar,” which makes more sense, as it is where most of the features important to Page Administrators exist.
Within the Admin Navigation Bar you will find several “Tabs”. Think of the tabs on Facebook like you would tabs on file folders — they help you easily navigate to the folder/information you wish to access. I have given each tab a letter in the screenshot below.
Admin Navigation Bar Tabs:
A) Page Tab: Your Page Tab takes you to your Page. Easy peasy.
B) Activity Tab: Your Activity Tab takes you to the section of your Page that lets you view all of your Page activity— such as messages and notifications.
C) Insights Tab: Your Insights Tab is extremely important! It takes you to the part of your Page where all of your metrics are displayed. “Insights” is just Facebook-speak for “data”, which makes sense, as this is where you can gain insights about your Page Likes, Reach, Visits, Posts, and “People” (demographics of your visitors). The Insights Tab is far too complex to explain here… Can you guess next week’s blog post theme?!?
D) Settings Tab: Your Settings Tab takes you to where you can change the basic settings of your Page. You can edit information about your business, how often you receive notifications, and, most importantly, your profanity feature!
New This Week Module
The “New This Week” module is one of our favourite new features of Facebook’s 2014 layout upgrade. It displays a recent Page Likes and Page Reach tally, and alerts you to pending notifications, and unread messages.
User Action Buttons
I let my husband name this section, because he is a UX designer, so that is basically his job (just don’t tell him I said that), and because there’s no standard name for it. As a Page admin, these buttons have everything, and nothing to do with you. Everything, because your Page’s popularity relies on users clicking on them to “Like”, “Follow”, and “Share” your Page, and to send you messages… and nothing, because you won’t have much interaction with them yourself.
Cover Image
Your cover image should be a simple, high-quality image that represents what your business does. It is also best to keep text to a minimum and positioned towards the top of the image, otherwise it may become illegible on certain mobile devices.
The image dimensions should be: 851 pixels wide by 315 pixels high.
Profile Picture
Your profile picture should be an image very specific to your brand. If you have a logo, use it here! You may also use your own personal image, if you are the best representation of your company’s brand.
The image dimensions should be: 160 pixels wide by 160 pixels high.
Page Navigation Bar
Your “Page Navigation Bar” contains tabs that help Facebook users navigate your Page. Both you, and your fans, will make significant use of the tabs contained in this bar.
These tabs include:
1) Timeline Tab: This tab directs you and users to your “Timeline” so that you can post motivational quotes, and your users can Like them!
2) About Tab: This tab navigates users to your “About” Page where they can find out more information about your business. You can also use this tab to update the info on your About Page.
3 – 5) Custom Tabs: This is where tabs get interesting! You can choose two other tabs to display within your Page Navigation Bar. The screenshot above displays two “Custom Tabs” : Photos and Careers.
3) The tab labelled “Photos” is standard to Facebook. This tab is shown by default and links to a pre-built photo gallery created for you by Facebook.
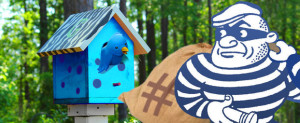
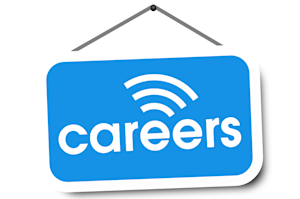
4) The tab labelled “Careers” links to my Careers Page. I added this tab myself using the Jobcast Social Recruiting App. You can add more tab options by installing apps to your Page, or by creating your own custom tabs for fans to interact with.
Highlight your two most important tabs, the ones that you most want fans to click on. For the Jobcast Facebook Page, we display our “Install App” tab because we want users to install our app, and our “Features” tab, because we hope that after reading about all of our great features, users will install our app!
5) More Tab: The tabs you do not choose to display are still available to your fans, but they are hidden within the “More Tab,” so they are not immediately visible.
Read this tutorial to learn how to manage your tabs.
Hopefully this guide will help you navigate Facebook yourself, and help you explain Facebook to your colleagues, clients, maybe even your parents!
Happy social recruiting.