How to Add Admins to Your Facebook Page
Two heads are better than one!
This is even more true when it comes to social networking because those two heads will bring with them all of their Facebook, Twitter, and LinkedIn connections… So it is actually more like hundreds and hundreds of heads floating along the series of tubes that is the internet, just a lot less creepy.
I’ve been working with a new Jobcaster who is extremely socially savvy.
She has been building a social media strategy for her company. She reached out to me because she wanted to know if it was possible to automatically share the jobs she posts with Jobcast to more than one LinkedIn profile. I told her yes of course, showed her how, and she was off to the races. Easy peasy!
But this transaction got me thinking about how many social recruiters out there may not know how simple it is to get their whole team on board with their social recruiting strategy.
Getting your team to help you recruit will make your efforts much more effective. This is because the main benefit of social recruiting is that it allows you to reach a huge amount of potential candidates and that amount increases exponentially with every team member you have sharing your content.
An easy way to get your whole team on board and harness the power of their social networks, is by giving them some degree of admin access to your company Facebook Page.
If you give your staff access to your company Page, then your Page and the job posts you share on it, are more likely to be seen by their connections.
If you use the Jobcast app, then any team member you add as an admin (even with limited permissions), can set up automatic-sharing so that every time you post a job ad it will be automatically pushed out to their social networks including Twitter, LinkedIn, and Facebook.
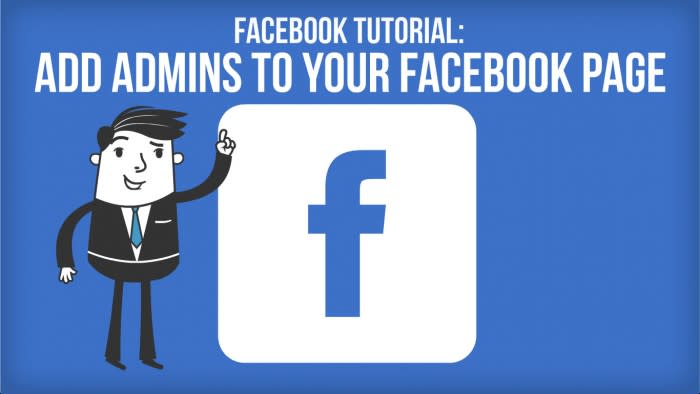
Here’s a step by step tutorial that shows you how to add admins to your Facebook Page
Log in to your Facebook Page and click on the “Settings” tab in the top navigation bar.
Click on “Page Roles” located in the side navigation bar.
Type the email address or name of the team member you wish to add into the appropriate box. Note, you must enter the email address connected to your team member’s Facebook account.
Choose your team member’s level of authorization. Here is a link to a chart explaining each role , and the permissions associated with them.
You will have to re-enter your password before Facebook approves your request.
Once you’ve submitted your password, you will see a note that the transaction is pending.
After completing this process your team member will have to log in to Facebook and accept your request. Once they have done this, then they can start sharing, commenting, and promoting your job posts right along with you. Here’s a tutorial that you can send your team members about setting up job post auto-sharing for their social networks!
Happy Monday, and stay social!